How SaaS founders can scale their product sustainably using architecture, pricing, data, and the right execution strategy
Building a SaaS product is a major milestone, but scaling a SaaS product is where the real challenge begins.
Many SaaS founders experience early traction only to discover that growth exposes deeper issues: technical debt, unclear pricing, manual workflows, and operational bottlenecks. When users increase, these hidden gaps surface quickly.
Scaling isn’t about moving faster.
It’s about building a strong, flexible structure that can support long-term growth without breaking.
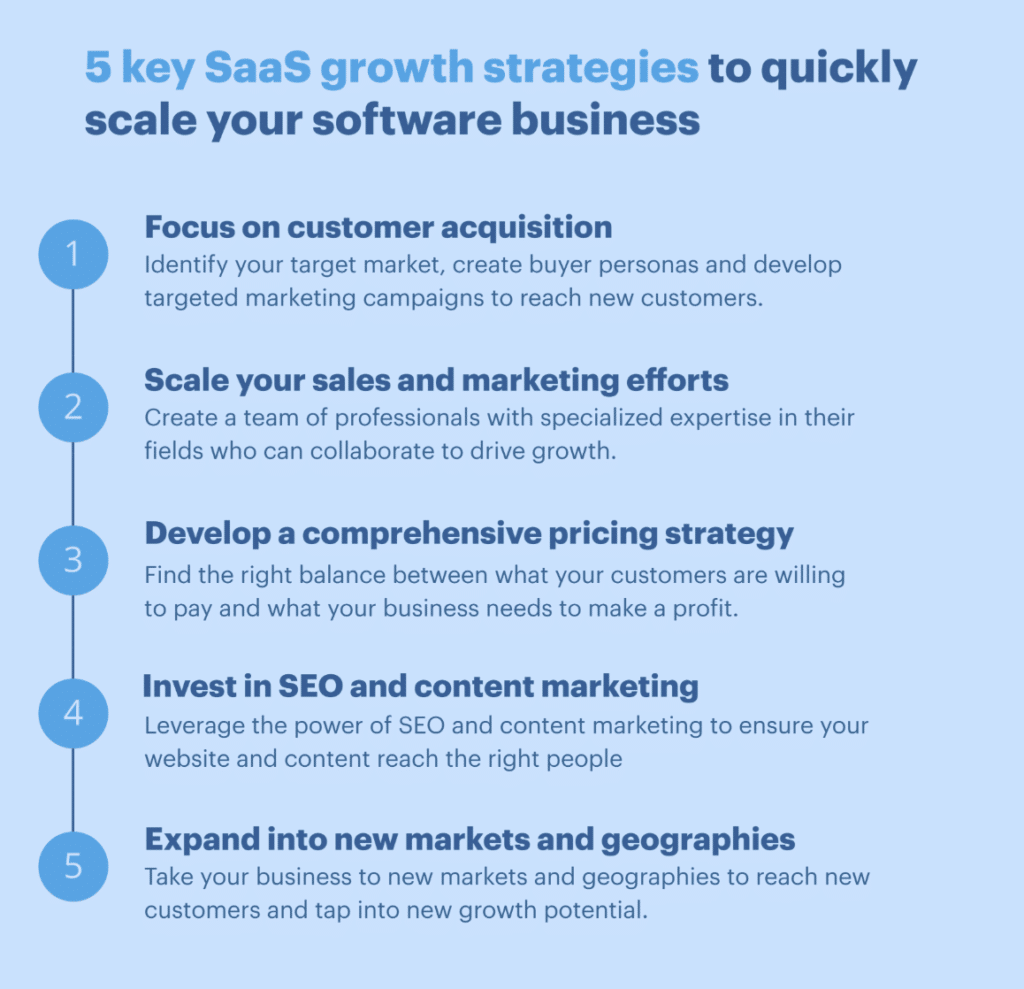
Based on real world SaaS scaling experience, here are the key steps founders should focus on once their product gains traction.

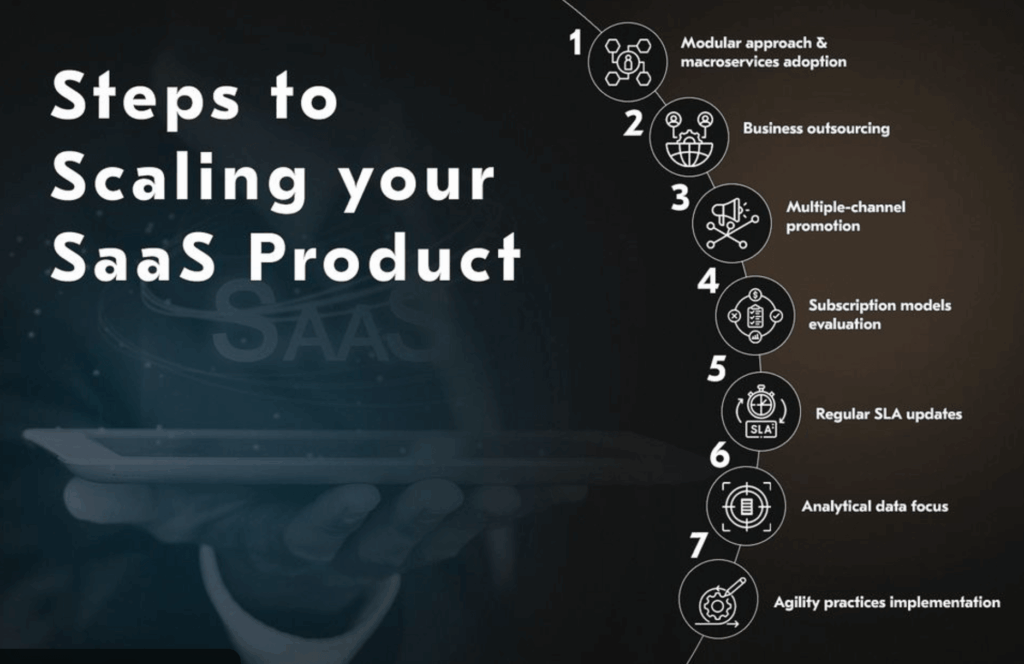
Move Toward a Scalable, Modular Architecture
Most SaaS MVPs are built quickly to validate an idea and that’s the right approach initially. However, as usage grows, tightly coupled systems become harder to scale and maintain.
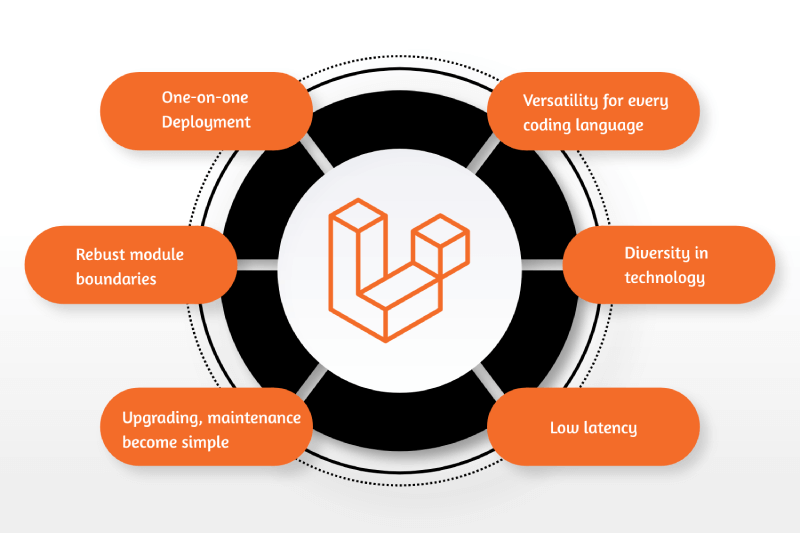
A modular or service oriented architecture allows you to:
- Scale individual features independently
- Reduce deployment risks
- Improve long-term maintainability
This doesn’t always mean rebuilding from scratch. Often, it involves refactoring critical components with scalability in mind.
Outsource Non-Core Operations to Stay Focused
As a SaaS founder, your highest value work lies in product direction, customer insights, and growth strategy not managing every operational detail.
As products scale, successful teams often outsource or delegate:
- Infrastructure maintenance
- Support tooling and integrations
- Internal admin and repetitive tasks
This shift frees leadership to focus on growth while ensuring operational stability.
Expand Beyond a Single Growth Channel
Many SaaS products grow initially through one strong channel, such as paid ads, outbound sales, referrals, or partnerships. The risk appears when growth depends entirely on that single source.
To scale sustainably, SaaS businesses:
- Test and diversify acquisition channels
- Strengthen inbound content and SEO
- Build long-term partnerships
Multiple growth channels create predictability and reduce dependency risk.

Revisit Subscription and Pricing Models
Pricing that works for early adopters rarely works forever.
As your SaaS matures, it’s important to re-evaluate:
- Subscription tiers
- Feature-based pricing
- Usage-based or hybrid models
The goal is not just higher revenue it’s ensuring pricing reflects the value users actually receive.
Strengthen SLAs, Reliability, and Trust
As customers grow in size, their expectations change. Performance, uptime, and reliability become as important as features.
Scaling SaaS teams focus on:
- Clearly defined Service Level Agreements (SLAs)
- Monitoring and alerting systems
- Strong incident response processes
At scale, trust becomes a competitive advantage.
Use Product Data to Drive Growth Decisions
Intuition alone doesn’t scale.
High performing SaaS companies rely heavily on:
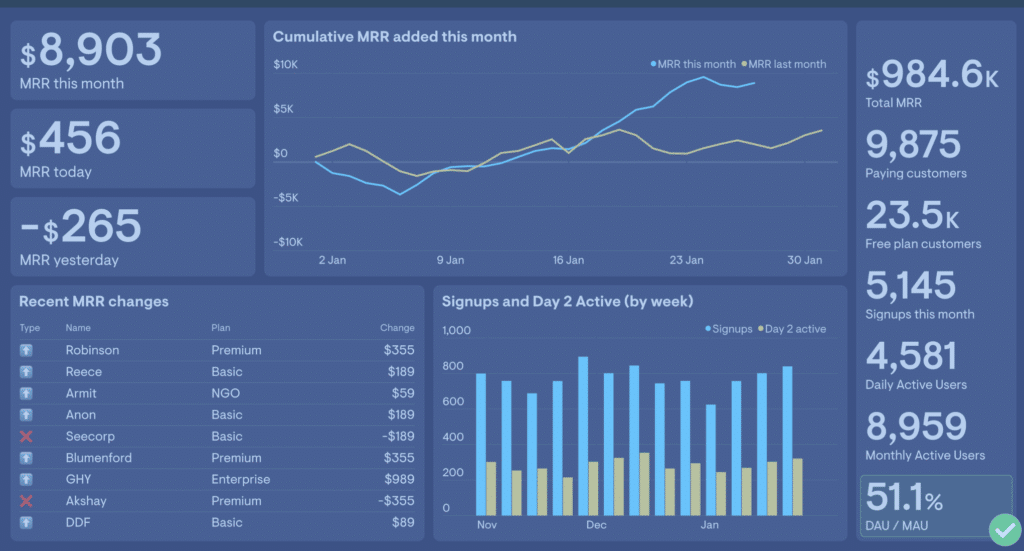
- User behavior analytics
- Churn and retention metrics
- Feature adoption insights
Data reveals where users struggle, what they value most, and where growth opportunities exist, allowing teams to make informed, confident decisions.

Maintain Agility as You Scale
Scaling doesn’t mean slowing down innovation. It means adapting faster without chaos.
Agile practices help SaaS teams:
- Release updates safely
- Respond quickly to user feedback
- Experiment without disrupting core systems
The goal is controlled flexibility, not constant change.
A Common Crossroad for SaaS Founders
At this stage, most SaaS founders face a familiar decision:
Either stretch internal teams to refactor, stabilize, and scale
Or work with experienced SaaS development partners who have already supported this growth phase
At RND Experts Pvt Ltd, we’ve consistently seen how early structural decisions directly affect a SaaS product’s ability to scale without slowing growth or impacting live users.
Scaling a SaaS product isn’t a single milestone.
It’s a series of deliberate decisions that compound over time.
If your SaaS product already has users, revenue, or market validation, now is the time to focus on structure not just speed.
The right architecture, pricing, processes, and data strategy will determine how far and how smoothly you scale.


